Currently Empty: $0.00
Techniques for Rural Road Development
Rural roads carry far more weight than their modest appearance suggests. They connect farms to markets, deliver children to schools, bring emergency services to remote homes, and open isolated communities to the wider economy. Yet they are often built with thinner budgets, less oversight, and harsher conditions than their urban counterparts, which means every technical decision carries outsized consequences. A rural road built well serves a community for decades; one built carelessly washes out in the first heavy season, stranding the very people it was meant to serve.
The challenge is that rural road development tempts builders to cut corners. Limited funding, difficult access, and the assumption that a low-traffic road can tolerate lower standards all push crews toward shortcuts that fail quickly and expensively. This guide walks through the six techniques that separate a durable rural road from a costly disappointment: site survey and soil assessment, subgrade preparation, drainage design, gravel and base course selection, compaction, and long-term maintenance. Master each one, and you build roads that hold up under load, weather, and time, protecting both the community and your reputation.
Start With a Thorough Site Survey and Soil Assessment
Every successful rural road begins with knowing the ground you are building on, long before any earth is moved. A proper site survey maps the terrain, grades, drainage patterns, and obstacles along the route, while a soil assessment identifies what lies beneath the surface. These two steps form the foundation for every decision that follows, from how thick the base must be to where water needs to go.
The complication is that rural projects frequently skip or rush this phase to save time and money. A crew that assumes the soil is uniform, or that builds a road by eye without testing the subgrade, gambles with the entire investment. Expansive clays swell and shrink with moisture, soft organic soils compress under load, and high water tables undermine everything above them. When these conditions go undetected, the road settles, cracks, and fails, and the cost of fixing it dwarfs what proper investigation would have cost.
Invest in the assessment up front. Survey the route to establish accurate grades and identify natural drainage paths, then test the soil at intervals to determine its type, bearing capacity, moisture content, and plasticity. Use that data to design a road matched to actual ground conditions rather than guesswork. For your project, this means accurate budgeting, fewer surprises during construction, and a road engineered to perform on the soil it actually sits on. With the ground understood, the next step is preparing it to carry the load.
Prepare a Stable Subgrade
The subgrade is the native soil layer that supports the entire road structure, and its stability determines whether everything above it survives. No amount of quality gravel or careful surfacing can compensate for a weak, poorly prepared subgrade. This is the layer that absorbs and distributes traffic loads into the earth, and getting it right is non-negotiable for a road meant to last.
Problems arise when crews build directly on unprepared or unsuitable soil. Soft, wet, or organic material left in place compresses under traffic, creating ruts, depressions, and potholes that appear within months. Improperly compacted subgrade settles unevenly, and where weak spots remain, the road fails in patches that spread over time. A subgrade that traps moisture becomes a sponge, losing strength precisely when loads are heaviest.
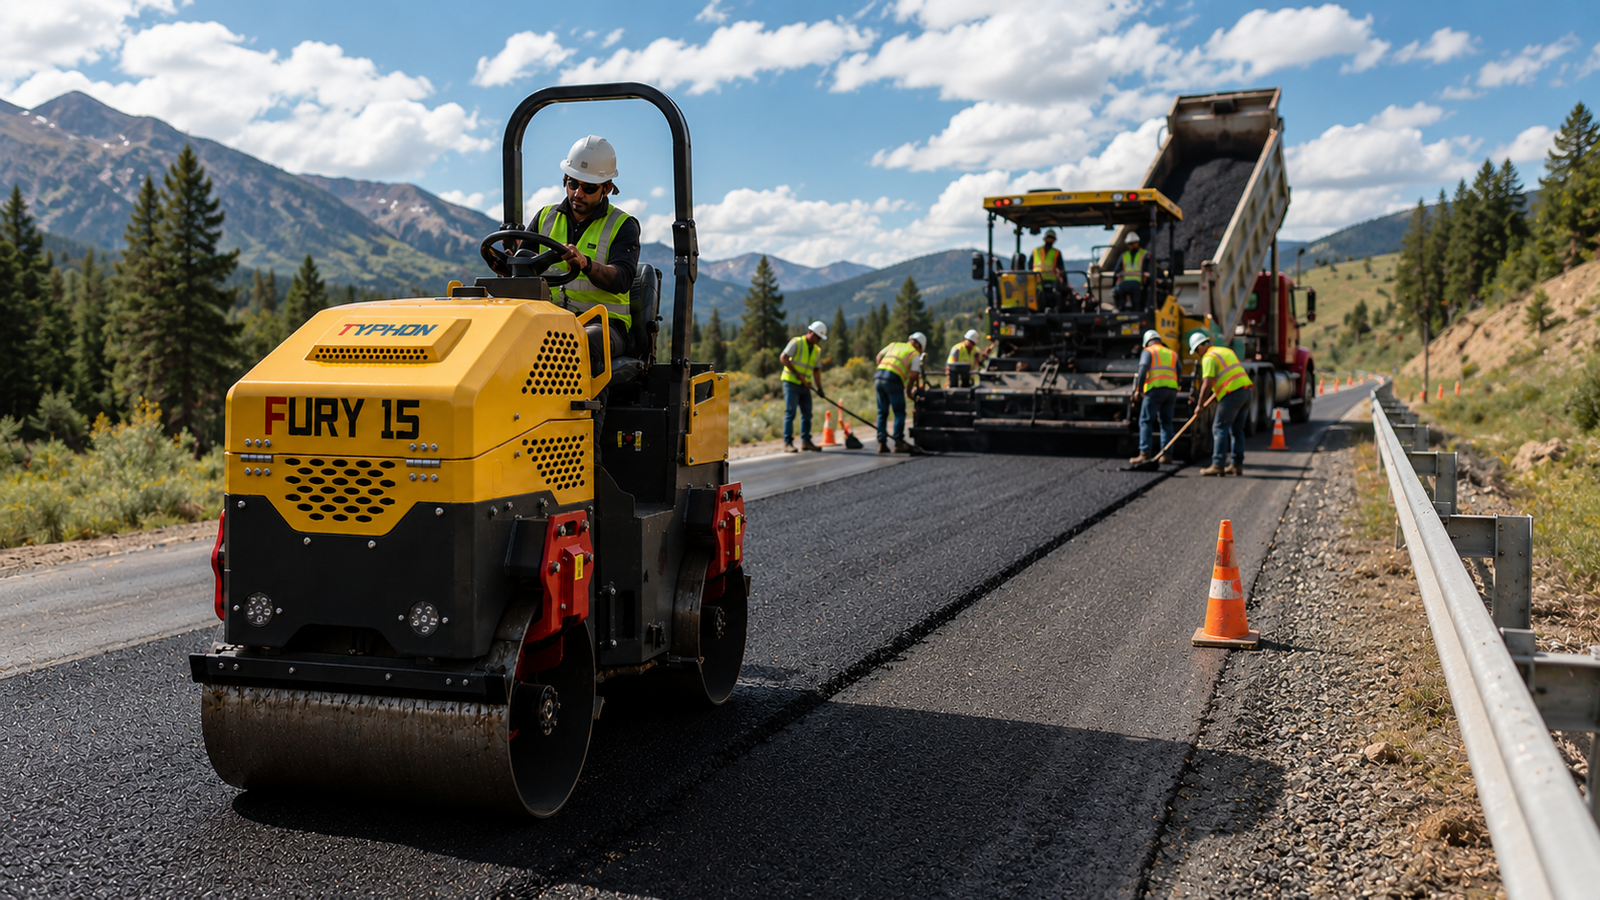
Strengthen the subgrade before building on it. Remove unsuitable material such as topsoil, organics, and saturated clay, then shape and compact the exposed soil to a uniform, stable surface. Where native soil is too weak, stabilize it by mixing in lime, cement, or aggregate, or bridge poor sections with geotextile fabric that separates and reinforces the layers. A properly prepared subgrade gives the road a dependable foundation, reduces the base material you need, and prevents the settlement that destroys rural roads. Once the subgrade is sound, protecting it from water becomes the priority.
Design and Install Effective Drainage
Water is the single greatest enemy of any rural road, and managing it well is what separates roads that last from roads that wash away. Effective drainage moves water off and away from the road structure before it can saturate the subgrade, erode the surface, or pool in low spots. On rural routes that cross varied terrain and cope with seasonal rains, drainage design is not optional; it is central to survival.
The danger of neglecting drainage is severe and fast-acting. Water trapped in the subgrade strips its strength, turning a firm foundation into mud that pumps up through the surface under traffic. Surface water left to run along the road carves ruts and gullies, while flooding at low points undermines the entire structure. Many rural roads that fail prematurely do so not because the materials were poor, but because water was never given a controlled path away from them.
Build drainage into the design from the start. Crown the road surface so water sheds to both sides, cut ditches along the shoulders to carry runoff away, and install culverts wherever the road crosses natural watercourses or low points so water passes beneath rather than over it. Size these elements for the heaviest expected rainfall, and maintain proper slope so water keeps moving. Well-planned drainage protects every layer beneath it, dramatically extends the road’s life, and slashes the maintenance burden over time. With water under control, attention turns to the materials that carry the traffic.
Select the Right Gravel and Base Course
The base course is the structural heart of a gravel rural road, and the quality of the material you choose directly determines how the road performs and how long it lasts. This layer distributes traffic loads, provides the driving surface on unpaved roads, and resists the abrasion and weather that wear a road down. Choosing the right aggregate is one of the most consequential decisions in the entire build.
Trouble follows when crews use whatever material is cheapest or closest at hand. Gravel with too many fines turns slick and muddy when wet and dusty when dry, while material lacking fines will not bind and ravels loose under traffic. Rounded river gravel that cannot lock together shifts and scatters, and poorly graded aggregate fails to compact into a dense, stable layer. The wrong material means constant grading, frequent regravelling, and a rough, hazardous surface.
Specify a well-graded aggregate built for the job. The best base material combines a range of particle sizes, from larger stone for structure down to a controlled percentage of fines that bind the layer together when compacted. Use angular crushed stone where possible, since it interlocks far better than rounded gravel, and match the layer thickness to the traffic loads and subgrade strength your assessment revealed. The right base course produces a firm, well-drained, durable surface that holds its shape, reduces maintenance, and delivers real value for every dollar spent. Selecting good material, though, only pays off if it is compacted properly.
Apply Proper Compaction Techniques
Compaction is what transforms loose layers of soil and aggregate into a dense, load-bearing road, and it is too often the step that gets shortchanged. Packing each layer to its target density removes air voids, locks particles together, and gives the road the strength and stability to carry traffic without deforming. Skip or rush it, and even the best materials will fail.
The complication is that inadequate compaction hides its consequences until it is too late. A layer that looks finished but was never compacted to specification will continue to settle under traffic, creating ruts and depressions that collect water and accelerate failure. Compacting at the wrong moisture content compounds the problem, since soil that is too dry or too wet will never reach proper density no matter how many passes a roller makes. The result is a road that consolidates unevenly and breaks down far earlier than its materials warrant.
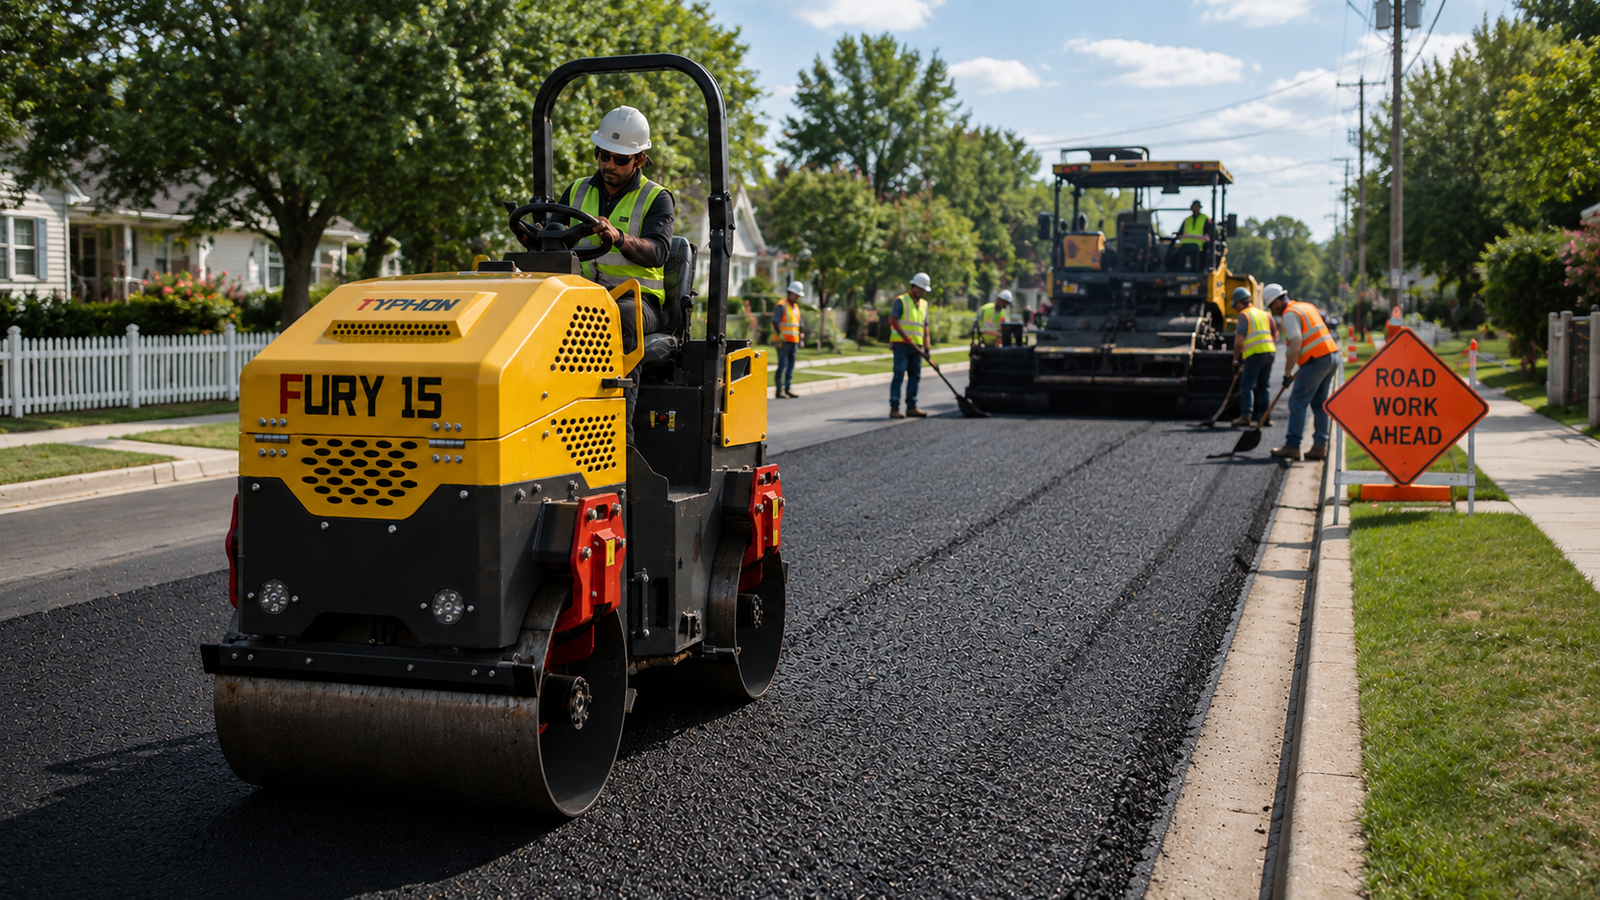
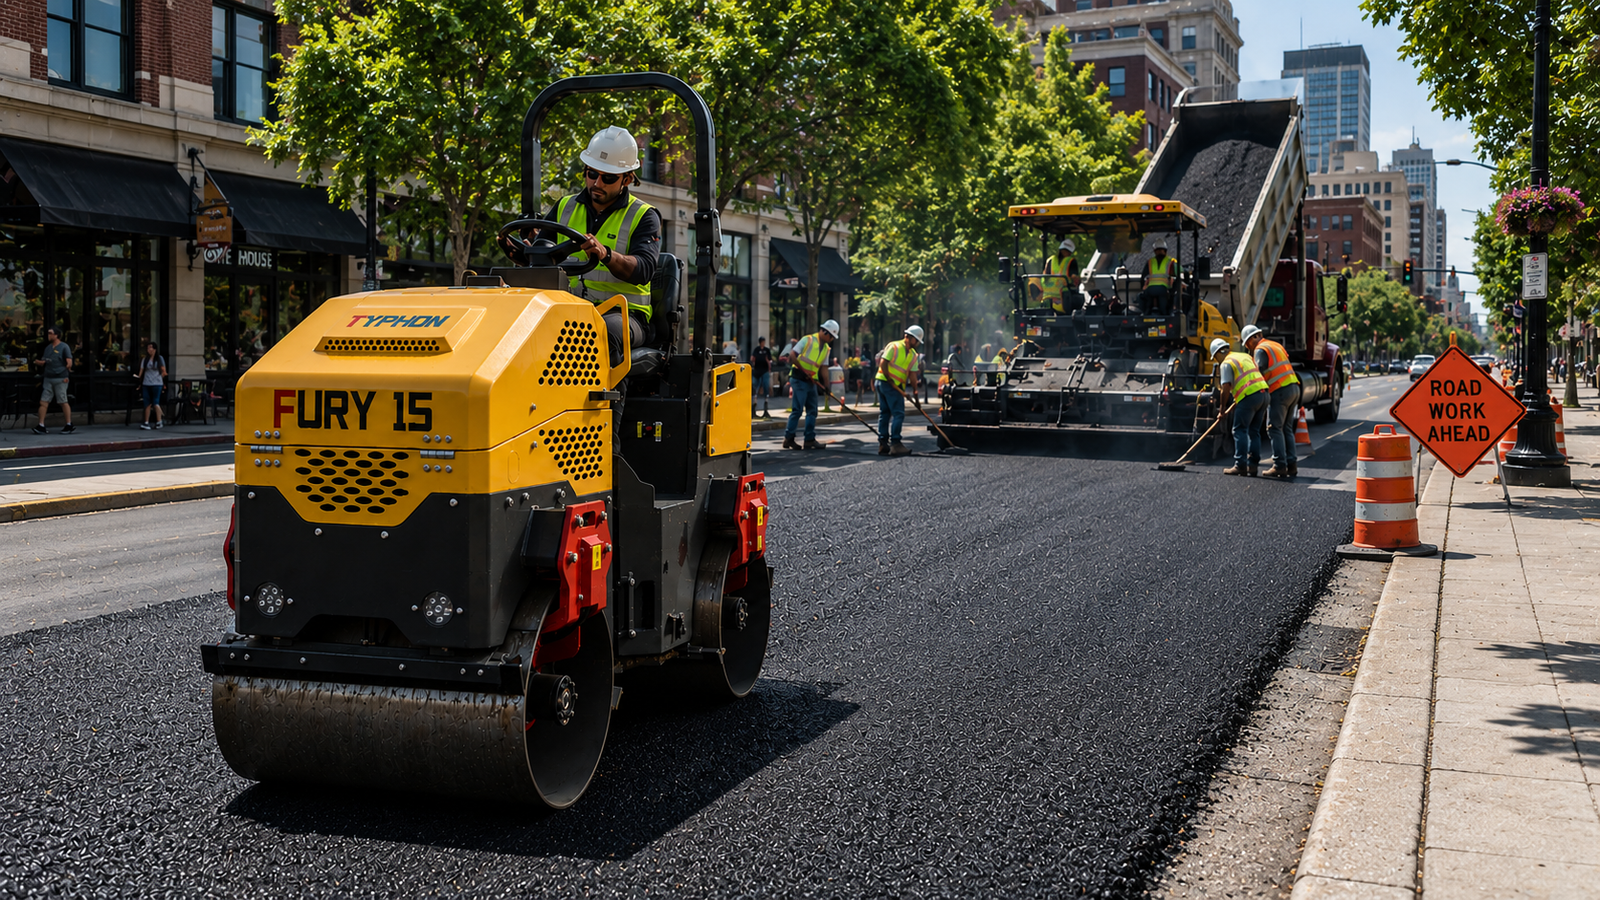
Compact deliberately, layer by layer. Place material in thin, uniform lifts rather than thick dumps, and compact each lift to the specified density before adding the next. Control moisture to the optimal level for the material, since proper moisture is what allows particles to pack tightly together. Match the roller to the layer, using vibratory drum rollers for granular base and the right equipment for the subgrade, and verify density with testing rather than assumption. Proper compaction delivers a strong, stable road that resists settlement, lowers your long-term costs, and protects the investment in every layer beneath the surface. Even a well-compacted road, however, needs ongoing care to reach its full lifespan.
Build a Long-Term Maintenance Strategy
A rural road is not finished the day it opens; it is the beginning of a service life that depends entirely on consistent upkeep. A long-term maintenance strategy preserves the investment, keeps the road safe and passable, and prevents small, cheap problems from growing into major, expensive failures. This is the technique that determines whether a road serves a community for five years or twenty-five.
The common and costly mistake is the “build and forget” approach. When maintenance is deferred until the road is visibly failing, minor issues compound quickly: a blocked culvert floods the road, a small pothole spreads into a network of them, and clogged ditches let water saturate the subgrade until the structure collapses. By the time neglect becomes obvious, the repair cost has multiplied many times over what timely maintenance would have required.
Establish a proactive maintenance routine instead. Schedule regular grading to restore the crown and smooth the surface, keep ditches and culverts clear so drainage keeps working, and regravel as the surface wears to maintain thickness and shape. Inspect the road seasonally, especially after heavy rains, and address erosion, soft spots, and drainage problems before they spread. A disciplined maintenance program extends the road’s life dramatically, keeps it safe and reliable for the community, and protects public funds by spending small amounts consistently rather than large amounts in crisis. That ongoing commitment is what ultimately defines a well-developed rural road.
Conclusion
Building a durable rural road comes down to a sequence of disciplined techniques, each one protecting the next. Begin with a thorough site survey and soil assessment so you build on facts, prepare a stable subgrade to anchor the structure, and design drainage that keeps water away from every layer. Choose well-graded base material suited to the traffic and subgrade, compact each layer to proper density rather than appearance, and back the finished road with a proactive maintenance strategy that preserves it for decades. Get these six fundamentals right, and you deliver roads that withstand load, weather, and time.
For rural road contractors, civil engineers, construction business owners, project managers, and government infrastructure developers, the path forward is clear and practical. Treat each technique as essential rather than optional, match your methods to the ground and conditions you actually face, and invest in quality early to avoid paying far more later. Which stage of your next rural road project could you strengthen today to add years of reliable service to the finished road?